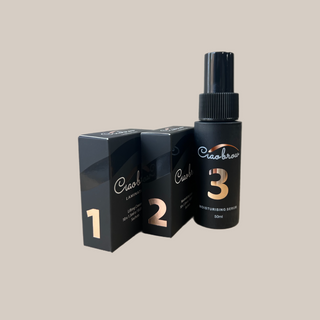
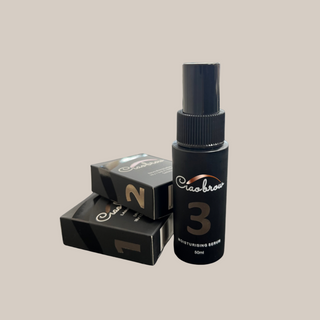
Lamination 3-Step Trio
The main 3 products for a lash lift treatment in a handy bundle!
Step 1 - Our Relaxing Solution
Ciaobrow lamination lifting cream has a much gentler approach, we have reduced the chemical percentage whilst still giving maximum results!
The longer processing time (up to 10 minutes) eliminates the over-processing of brow hair.
- 1 box of Ciaobrow Lamination Lifting cream contains 15ml.
- 10 x 1.5 ml sachets.
Step 2 - Neutralising Cream is a dual product and the most important part of Ciaobrow Brow Lamination & Lash Lift.
Step 2 has a shorter application time and is packaged in handy sachets which promote hygienic working while minimising product waste (roughly 1-3 clients per sachet).
- 1 Box of Ciaobrow Lamination Neutralising lotion contains 15ml.
- 10 sachets per box (1-3 clients per sachet)
Brow Lamination & Lash Lift Step 3 - Nourishing Cream
Step 3 of the Brow Lamination & Lash Lift process involves the application of a nourishing serum that serves a dual purpose for both Ciaobrow Brow Lamination and Lash Lift. This is the final step of the process.
- It’s a Conditioning serum that cares for, nourishes, and sets both treatments.
- In handy bottle 50ml
- For 40 -50 treatments
Purchasing the set provides a saving compared to buying all the products separately


